
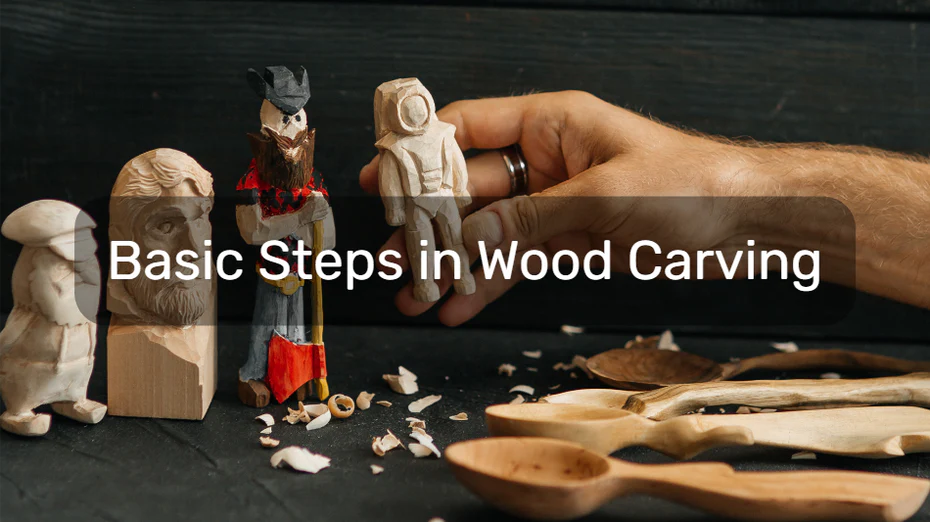
Basic Steps in Wood Carving: First Skills, Fixing, Finishing
Sometimes, when you begin doing something new, you stop in your tracks and go back because of one fear. The fear to fail, do something wrong, look stupid in front of somebody else or yourself. These thoughts can hit hard and stop you from enjoying the thing that can be your next masterpiece.
It is natural to doubt yourself when you start a new thing for yourself, however, that’s not the reason to not do it. Although it is scary, you can imagine how nice it would feel to prove that you are even better than you thought. So this article is a mix of thoughts on how to prevent some of the mistakes with carving and make it better and easier for you to take up this beautiful activity.
First Skills for the New Wood Carver
The best thing there is to give this advice to a new carver - get the information wherever possible. Watch tutorials, read books and community forums, ask your friendly neighbor to show you what and how. Everything that you find out is a valuable piece of information helpful to you in the future. The very first skill that you need is attentiveness and the ability to learn.
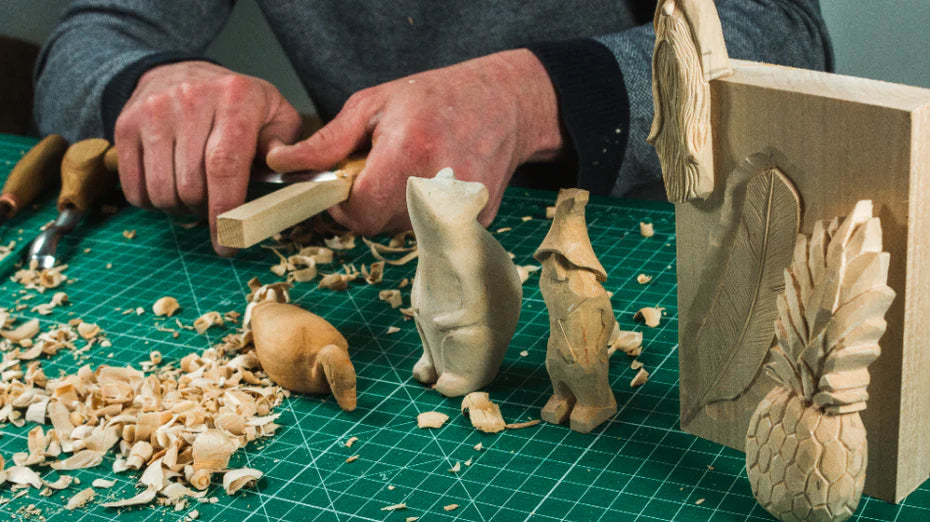
The second but not in any way less important skill is working with tools. That’s why you need to be able to learn. Each tool has its own specific, and although they all apply to a couple of equal rules, in some moments they are completely different. Not knowing how to work with the tools you have can ruin your carving or even lead to an injury - and nobody wants that, right?
Another skill very much needed for a carver is taking care of yourself and your tools. Never forget the safety equipment such as the thumb guard and safety tape to avoid getting injuries. Always keep your instruments sharp and polished because working with dull tools will tire you out very fast in the best scenario and lead to traumas in the worst.
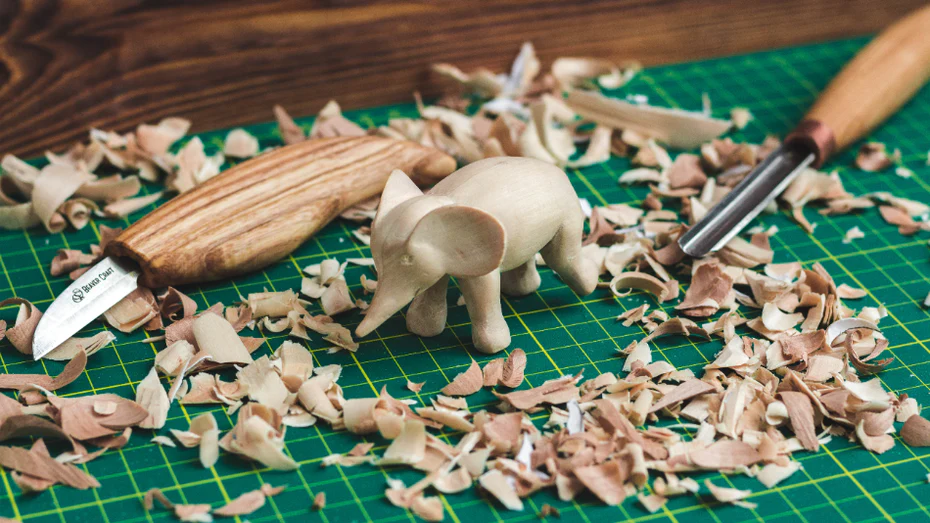
First skills for the new wood carver are what becomes a basis for your future development in this direction. Take your time, learn how to move your hands with tools in them, which wood to choose and other incredibly important things and you’ll know that your research and patience will lead to success for sure!
Fixing Damaged Wood Carvings
There are a lot of ways that your carvings can get damaged and not all of them are to be blamed on the carver. It can happen at all stages of whittling, so let’s discuss that in a little bit more detail.
If the piece of wood you’ve chosen suddenly surprised you with cracks or holes when you started carving, it’s not a reason to give up. Think of the way you want those carvings to look. If you are going to paint them, there are a lot of fillers that can be bought in stores which don’t look like wood but will certainly fill the voids in wood. However, if you want your projects to look like wood, that can get a little trickier. Grab some wood dust (or turn the waste pieces from your workpiece into that dust), mix it with wood glue and fill in the holes with this mixture. If the holes are really small, you can simply dust them off with sandpaper - a very rough one, of course.
Never forget to use the primer if you are going to paint carvings or the wood will get damaged over time. And refinish the carvings once in a while with an additional layer of oil or wax to prevent the troubles. These tips on fixing damaged wood carvings will hopefully save you.
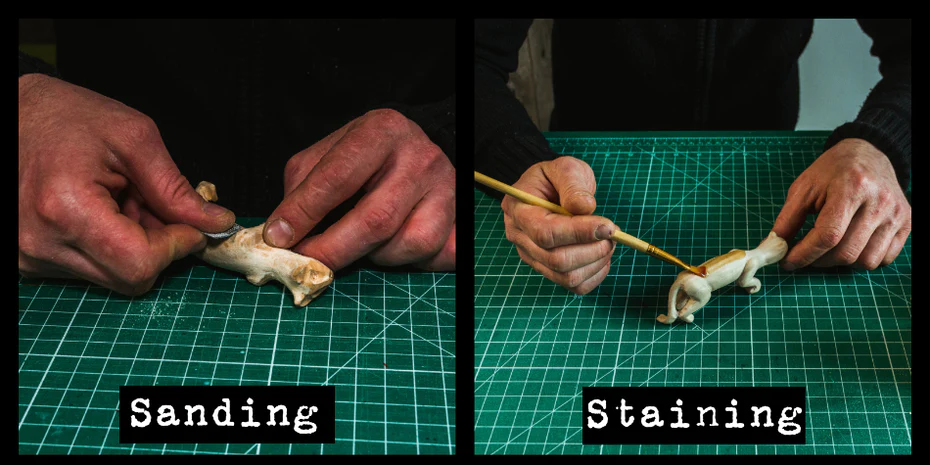
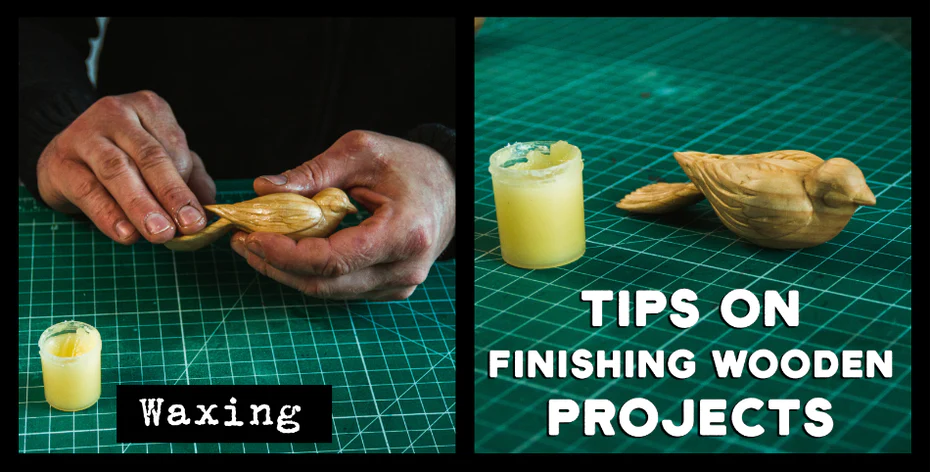
Finishing your Wood Carving
There are different ways to put finish on your carvings as well that can be chosen after you decide how you want your carving to look in the very end. If you want as little of a finish as possible to save it the most natural look, you have to go for some natural oil finishing. It’s an option for decorative elements or figurines that will stay inside, out of the way of rain and sunshine. Oils are very easy to apply to the wood but they don’t provide as much protection as the more heavy finishes do. So choose wisely. From oils you can choose linseed oil, for example, as one of the most common.
The other option you can go for is layered finish. It is a chemical one, so it protects better but it adds a more artificial sort of look to the carving so it’s not up to everyone’s tastes. It is the option you require if the carving you’re working on is going to be outside or it’s a big furniture piece, for example. The trick here is that the layered finish requires more than one layer to be put on the wood and each layer takes quite a lot of time to dry out so the overall finishing may take up to a couple of days.
Finishing your wood carving is a step of great importance because that’s what makes your carving a legacy and gives it a long life to live. So don’t rush with it, do your research, try different things and cover every inch of that carving in front of you. Because if you don’t, it will be incredibly difficult to save your carving when it starts to rot or crack from time.
Hopefully this advice encourages you to keep going and improve your skills. We all have fears and doubts but it’s so pleasant to prove ourselves we are stronger than them. Don’t stop carving and let’s go forward together!
Author:

Roman Law
Wood carving guruFrom a childhood enchanted by nature, my passion for wood carving guided me on a path of creativity. With a pocket knife, I uncovered the transformative power of my hands, breathing life into driftwood and forging a lifelong connection with the medium.