Stop Cuts in Relief Carving | BC Series #11

Stop cutting to learn about stop cuts. Each of us started wood carving in his life with different desires. But we have one common feature - there is no one who wouldn't like to create his own work of art. Speaking about masterpieces, it definitely comes to relief carving, which you already know about.
If you ever tried yourself in carving pictures in the wood you could probably have struggled with proper interaction of design area intersections. Stop cut is a labor-intensive but extremely simple technique in any known way of relief carving.
Stop Cutting Technique
First of all, it should be mentioned that you can use a single or two-stroke stop cut depending on the required width. Sample steps to make a single stop cut:
- Drive along with your pattern line with your bench knife.
- Do as many accurate strokes as needed to reach the exact depth you want to intersect with another layer or background.
- Select your final incline and slant your bench knife according to the pattern element you are currently cutting.
Useful tip: Do not try to reach perfect estimated depth in a single try. Doing stop cut carefully and step-by-step you can recut it as much as possible in order to develop your results.
As we already mentioned, if you need to get a wider cut, you can try another technique, wide stop cut. Sample steps to make the wider, v-shape cut:
- Make your first cut on your pattern line.
- Turn your wooden area by the opposite side. (180 degrees)
- Make exactly the same cut at an angle to the first you already did.
Useful tip: It is important to leave a small gap between two cutting lines.
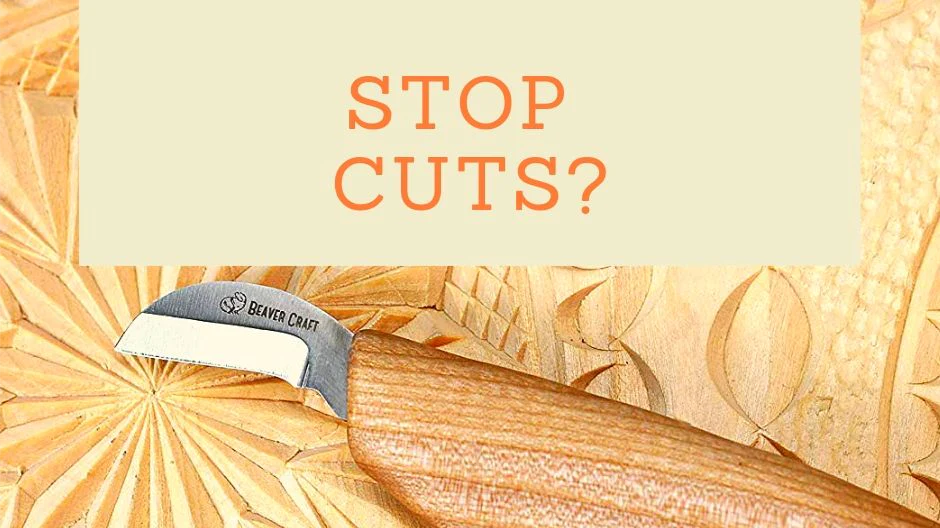
If you struggled not only how to do stop cut but which tool will be suitable, this is also a case we can offer you a solution: BeaverCraft C6 - this knife includes all of the features you may need.
Rough Cutting Technique
When engaging in the initial rough cutting of a wood carving, utilize a round gouge, straight chisel, or bullnose chisel for creating a background area that has been previously stop cut along the pattern line. Personally, I find that a large, wide-sweep round gouge is effective for the first rough-out cuts. The broad sweep of this gouge allows for the removal of a shallow yet wide chip of wood with each pass, facilitating a gradual reduction in depth for a specific area while extracting a sizable chip of wood with each stroke.
Commence the cut approximately 3/8″ to 3/4″ away from the stop cut within the background area. Move the chisel or gouge edge toward the stop cut, progressively deepening the cut as you proceed. Cease the cutting process when the gouge reaches the stop cut, employing a series of slightly overlapping gouge cuts.
To release any gouge chips still attached to the wood, execute a shallow, vertical cut along the pattern line using a bench knife.
Alternate between your stop cuts and gouge rough-out cuts to gradually bring the background area to your desired depth in the wood.
At this stage, the background area subjected to gouge rough cutting will exhibit a gradual taper from the original wood level at its farthest point from the pattern line to the desired depth at the stop cut. In subsequent stages of relief carving, additional work can be performed to bring the remaining background areas down to the same depth.
After all, you can return to use chisels and gouges - the main part of relief carving is done with those hand tools. Do not forget to use a mallet if required. Using this technique carefully instead of doing lines on your own will help you to forget about awareness of splintering as far as you will master this type of carving.
To conclude, you need to remember - relief carving is not an easy-going way to earn your living or to become famous worldwide like Paul Kaptein or Giuseppe Rumerio but success awaits for those, who are patient enough and dream to transform working materials into works of art!

