
For some woodcarvers who make human sculptures and faces, the mouth part becomes quite a challenge. However, it is one of the most beautiful parts of a woman’s face. So, let’s go step by step exploring how you can easily carve on wooden sculpture beautiful feminine lips.
What Materials Do You Need For Lips Carving
Carving wooden lips is a compelling art form that uses only a few basic tools to bring your vision to reality. Before you begin your wood carving trip, gather the necessary items to ensure a smooth and joyful carving experience:
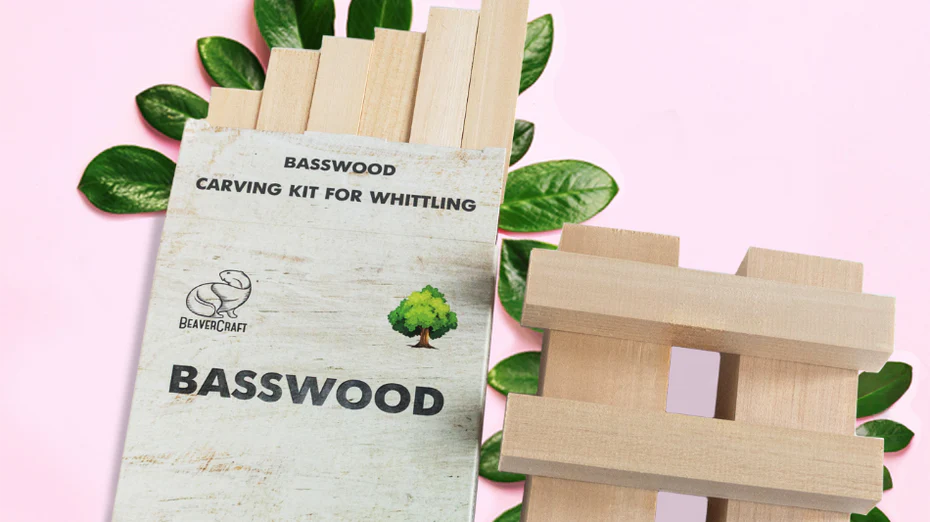
- Wood Blank: Choose a suitable wood blank for carving lips. Basswood and butternut are popular choices due to their fine grain and ease of carving.
- Carving Patterns or Design: Have a clear idea of the lip design you want to carve or acquire carving patterns to guide your creative process.
- Pencil and Paper: Sketch out your design on paper before transferring it onto the wood. This helps plan the details and proportions of the lips.
- Safety Gear: Prioritize safety with the use of safety gloves and protective eyewear to prevent any accidents while carving.
- Sandpaper and Sanding Blocks: Smooth out the carved surfaces with various grits of sandpaper and sanding blocks for a polished finish.
- Wood Finish or Sealant: Enhance the appearance of your wooden lips by applying a suitable wood finish or sealant. This helps protect the carving and brings out the natural beauty of the wood.
What Tools Do You Need To Carve A Wooden Lips

Carving wooden lips is a meticulous process that requires the right tools to achieve precision and detail. Here's a list of essential tools you'll need to carve captivating wooden lips:
- Carving Knife: Invest in a high-quality carving knife with a sharp blade. This tool will be crucial for creating intricate details and shaping the overall form of the lips.
- Carving Gouges: Utilize various carving gouges to shape and define the contours of the lips. Different gouges provide versatility in creating curves and textures.
- V-Tool: The V-tool is essential for carving fine lines, such as the separation between the upper and lower lips. It's excellent for adding detail to your wooden lips.
- Chisels: Have a set of sharp chisels for removing larger portions of wood and creating smooth surfaces. Chisels are particularly useful for shaping the overall structure of the lips.
- Sharpening Tools: Maintain the sharpness of your carving tools with sharpening stones or strops. Sharp tools are crucial for achieving clean cuts and intricate details.
How Much Time Does It Take To Carve a Pair of Lips?
Wooden lips carving time varies based on experience, design complexity, and wood type. General estimates:
- Beginners: 8-12 hours, including planning and refining techniques.
- Intermediate: 6-10 hours, benefiting from increased efficiency.
- Advanced: 4-8 hours for experienced carvers with quick execution of details.
Individual times may vary, and breaks are crucial for accuracy and avoiding fatigue.
Step By Step Wooden Lips Carving Guide
Carving wooden lips is a delightful and expressive form of this art, providing an opportunity to capture the intricate details and nuances of facial features. Whether you're a seasoned woodworker or a novice eager to explore the world of carving, this step-by-step guide will walk you through the process of creating captivating wooden lips.
Step 1: Preparation and Outlining
Smoothen the rounded area in the face of your sculpture where the lips are going to appear, prepare the place for the lips. Make the area look like a nice soft skin. Then draw the lips. Women’s upper lip is slightly bigger than the lower lip and is pointed. You have to outline the contour of the lips and the line between the lips.
Step 2: Defining the Lips
First, work on the line between the lips and the area up and down from it. Deepen the lips – the closer to the line between the lips, the deeper the point should be, while the contour of the lips remains untouched. You can do it using a stop cut. Make a stop cut along the line between the lips and take the material out cutting from the contour to this middle line
Step 3: Inner and Outer Contours
When the inside relief is done, go to the area outside the lips. The part of the material should be taken out there also. As a result, the outer contour of the lips will be the highest line, and the surrounding area inside and outside the contour will go deeper into the wood layers. So, take a round gouge and carve a groove along the contour line of the lips. Use a detail knife to cut the chips free. As your outline must show, the upper lip contour is pointed, while the lower lip contour is rounded.
Step 4: Nose-to-Lip Connection
With the same gouge, carve the groove that goes from the upper lip to the nose. It doesn’t have to be too deep, it just has to be present.
Step 5: Refining Lip Shape
Add more shape to the lip relief using a skew chisel and a carving knife. Make lips rounded and pouty, add the details you want to be there.
Step 6: Emphasizing the Lip Line
The line between the lips will look natural when it’s deep. So, in the end, work on this line. Using a stop cut, take out with a knife a narrow chip little by little from in between the lips until the actual depth of the line between the upper and lower lips becomes unclear. This will create a realistic image of the mouth.
Hope, this will help you create a mouth part of the face you are doing and give it a realistic and beautiful appearance. You can find many wood carving tool kits for your projects.
