
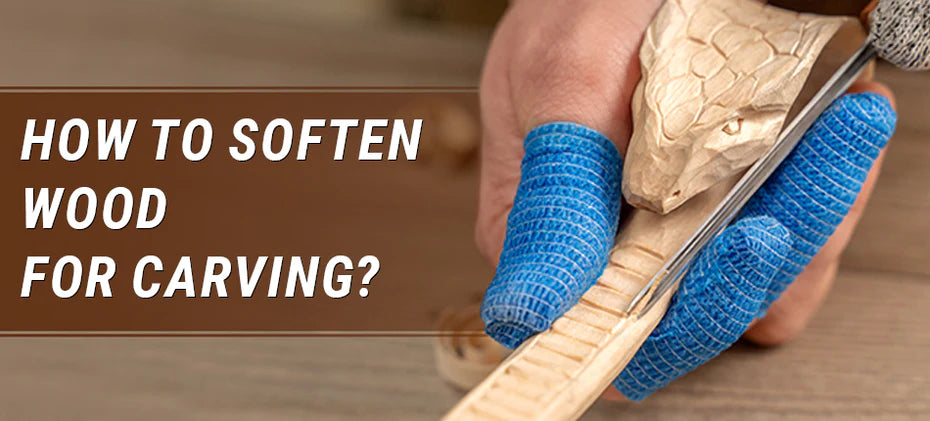
Wood carving is an art that transforms the rigid nature of wood into intricate designs and shapes. However, the hardness of wood can often be a challenge, making it difficult to carve detailed patterns. Softening wood before carving can make the process easier and more enjoyable.
If you’re wondering how to soften wood for carving, you’re in the right place. In this article, we will explore various methods and techniques to soften wood effectively, including soaking or applying heat. Additionally, we will address the question, 'Is mineral oil good for wood?' and discuss its effectiveness as a softening agent for carving projects. Check out our detailed guide «What Is the Softest Wood for Carving?».
What is Wood Softness?
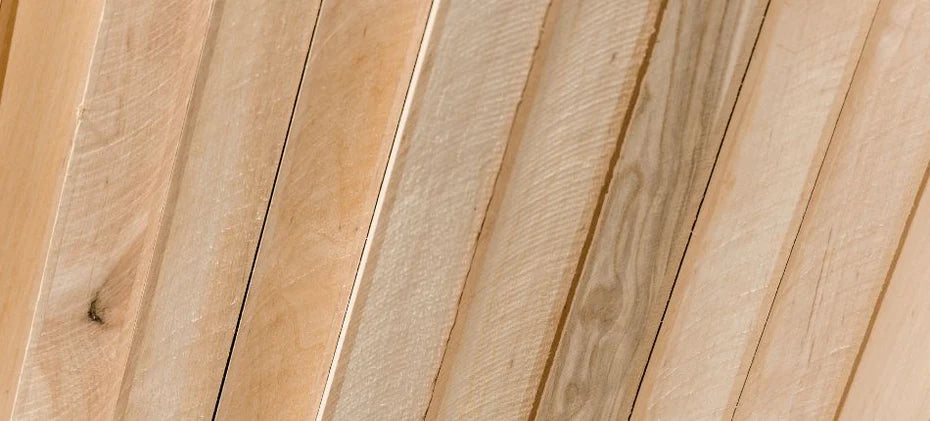
Wood softness refers to the ease with which a piece of wood can be cut, shaped, or carved. It is determined by the wood’s density and fiber structure. Softwoods, like basswood, white pine, cedar, and butternut, are generally easier to carve due to their lower density. The softness of wood can also depend on its moisture content, as dry wood tends to be harder than wet wood. Interested in what is the hardest wood for carving?
Ways to Soften Wood for Carving
Softening wood before carving can make the entire process more manageable and enjoyable. If you find the wood too tough for your carving tools, consider these methods to soften wood to prevent strain on both the tools and the carver’s hands, making it more malleable and easier to work with.
Spritzing with Alcohol
One effective method to prepare wood for carving is by using alcohol. It breaks down wood fibers slightly, making them more pliable.
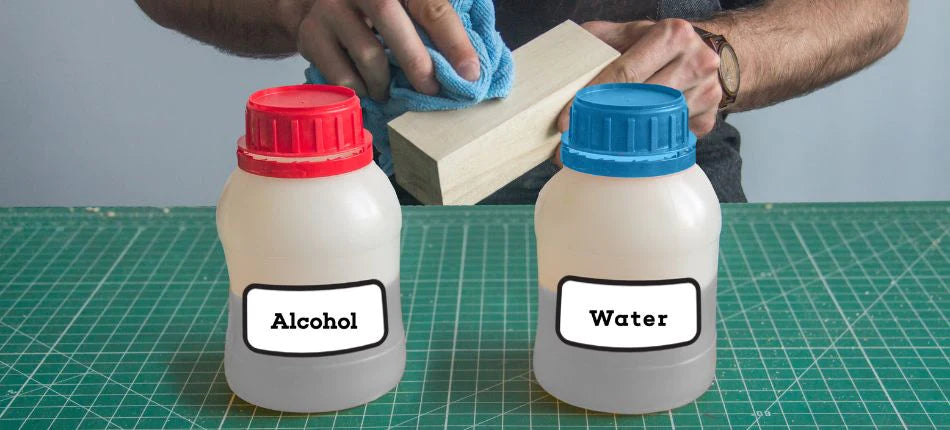
How to do it:
- Fill a spray bottle with isopropyl alcohol (rubbing alcohol).
- Lightly spritz the wood surface, covering it evenly.
- Allow the alcohol to evaporate.
Pros:
✅ Quick absorption.
✅ Evaporates without leaving residue.
Cons:
❌ Can dry out wood if overused.
❌ Flammable, requires careful handling.
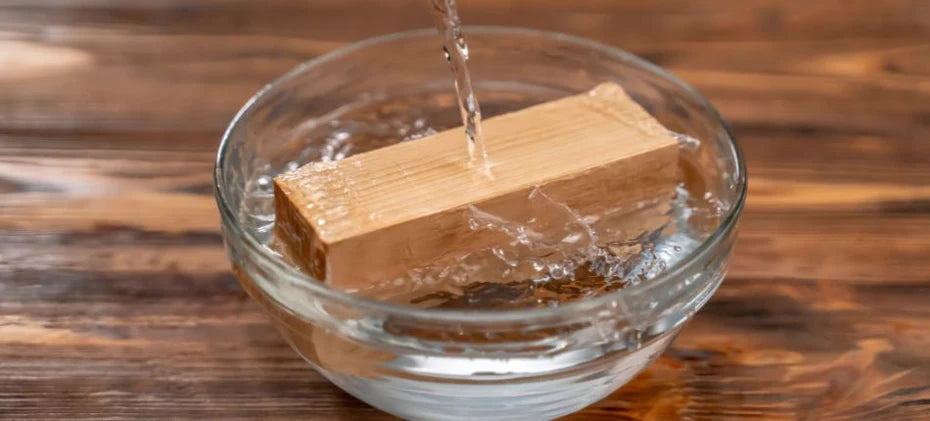
Immerse in Water
A frequently asked question among beginners is, ‘Does soaking wood make it easier to carve?’ The answer is usually yes, especially for harder woods. Soaking wood in water is a traditional technique used to soften it for carving or whittling.
How to do it:
- Fill a container with water.
- Immerse the wood completely.
- Leave it soaking for several hours or overnight.
- Remove the wood and let it air dry.
Pros:
✅ Natural and easy method.
✅ Evenly softens the wood.
Cons:
❌ Can cause warping or swelling.
❌ Longer drying time needed.
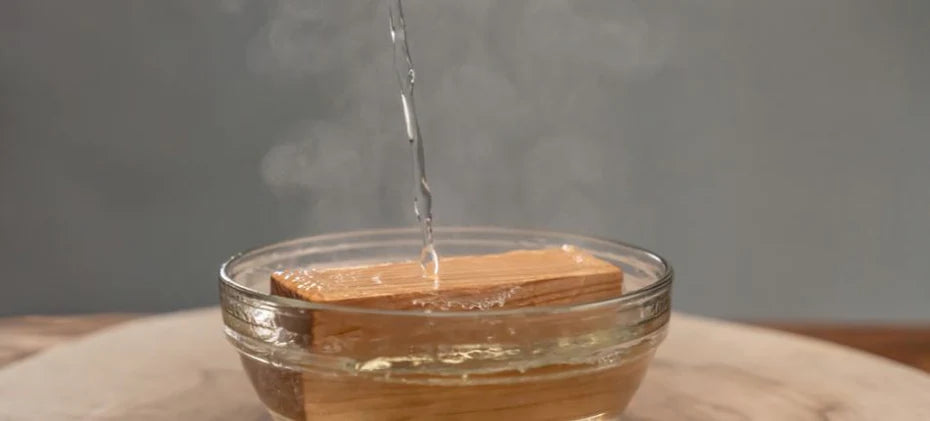
Submerging in Boiling Water
Another effective method to soften wood for carving is by submerging it in boiling water. This technique is especially useful for thicker pieces of wood and can rapidly soften the material.
How to do it:
- Bring a pot of water to a rolling boil.
- Immerse the wood in the boiling water.
- Keep it submerged for a few minutes.
- Remove the wood and let it air dry.
Pros:
✅ Rapid softening.
✅ Effective for thicker pieces.
Cons:
❌ Can lead to cracking.
❌ Requires careful handling to avoid burns.
Storing in a Humid Surrounding
If soaking the wood in water is not an option, or you want to know how to soften wood for whittling using another approach, consider storing it in a humid environment.
How to do it:
- Place the wood in a humid environment, such as a sealed container with damp cloths or a room with higher humidity.
- Use a humidifier if needed.
- Monitor humidity levels to prevent mold growth.
Pros:
✅ Gradual and gentle softening.
✅ Maintains natural moisture balance.
Cons:
❌ Takes longer to achieve the desired softness.
❌ Risk of mold growth.
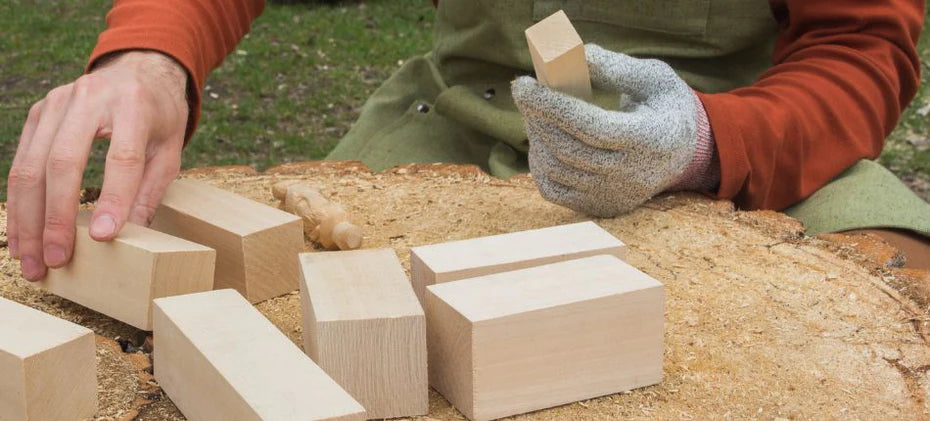
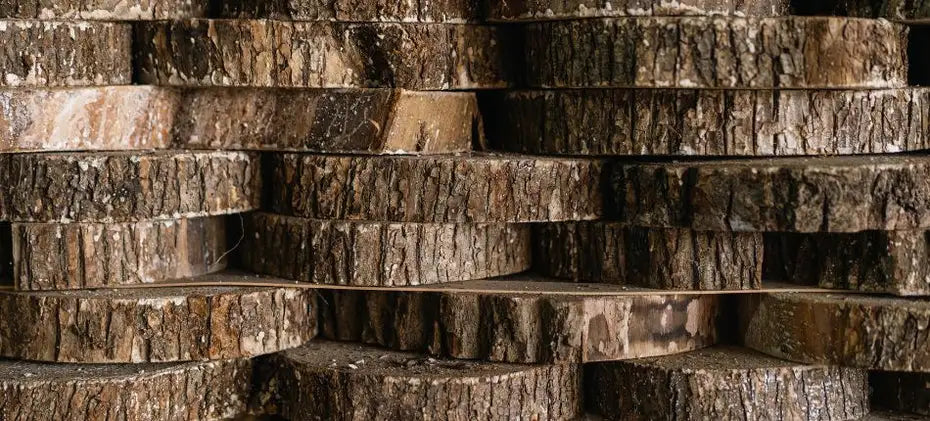
Employing Newly Harvested Wood
This method involves carving green, freshly cut wood you can work with right from the forest. However, it's important to note that this approach also has its drawbacks.
How to do it:
- Use wood that has been recently cut and still retains natural moisture.
- Begin carving while the wood is still fresh.
Pros:
✅ Easiest to carve due to its high moisture content.
✅ Offers a pleasant, fresh wood scent while carving.
Cons:
❌ Susceptible to cracking and splitting as it dries.
❌ Sap buildup on carving tools may reduce cutting efficiency and cause rust or corrosion.
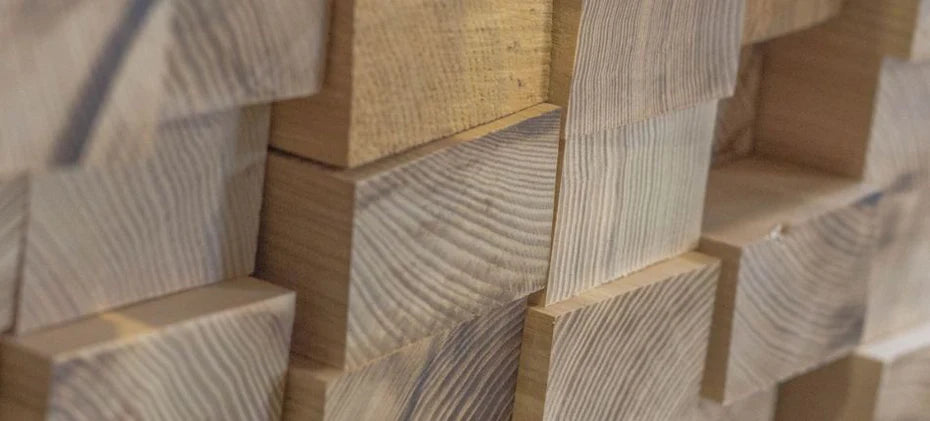
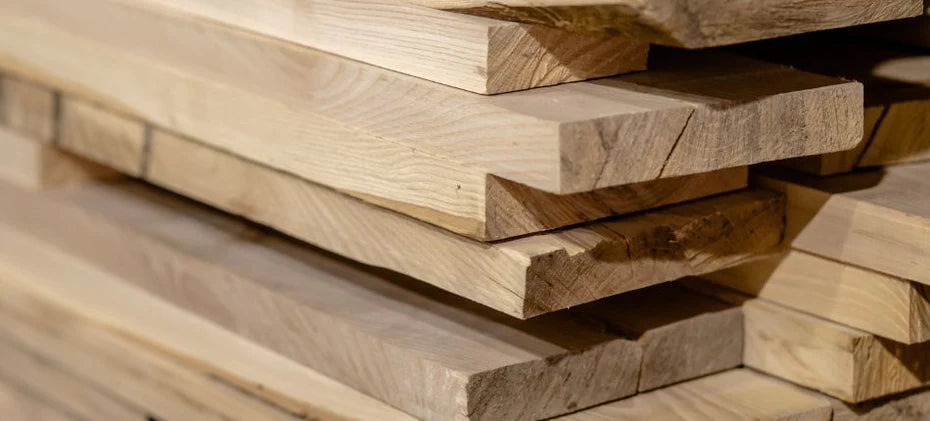
Utilizing Air-Dried Timber
Air-dried timber refers to wood that has naturally dried for at least six months to a year. If properly stacked and stored in a well-ventilated area, it allows moisture to gradually evaporate, making wood easier to carve.
How to do it:
- Select wood that has been air-dried for at least six months to a year.
- Ensure the wood has been stored properly to prevent excessive drying.
Pros:
✅ More stable than green wood, with less tendency to crack.
✅ Retains a moderate level of moisture for easier carving.
Cons:
❌ Some wood types may still pose a slight challenge for complete beginners.
❌ Air-drying process requires patience and space.
Administering Mineral Oil
Interested in using mineral oil on wood? It is a safe and effective way to condition wood, helping to maintain its moisture balance.
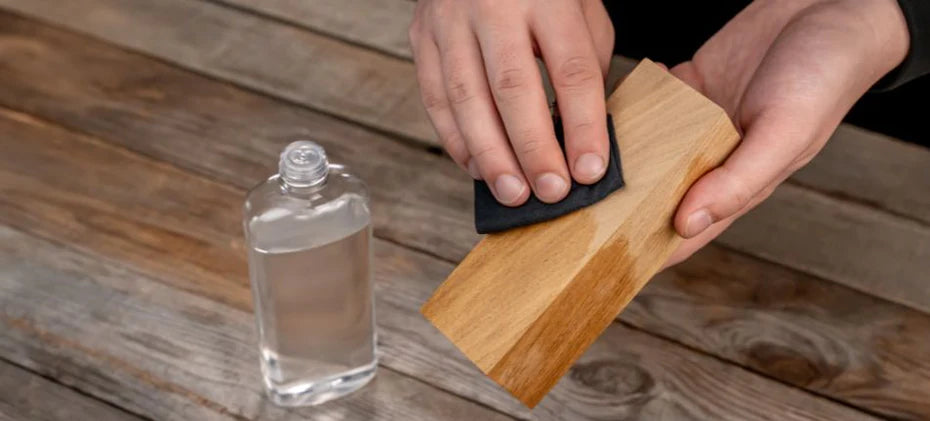
How to do it:
- Apply a generous amount of mineral oil to the wood surface.
- Let it soak in for several hours before wiping off the excess and carving.
Pros:
✅ Mineral oil is safe and widely used for wood conditioning.
✅ Helps maintain the wood’s moisture balance.
Cons:
❌ Can darken the wood slightly.
❌ May need reapplication for long-term projects.
Applying WD-40
Some may wonder, ‘Can you use WD-40 on wood?' The answer lies in its application. While unconventional, it can be effective when used carefully.
How to do it:
- Spray a light coating of WD-40 onto the wood surface.
- Wait a few minutes for it to penetrate before carving.
Pros:
✅ Provides a lubricated surface for easier carving.
✅ Can help protect tools from rust and residue.
Cons:
❌ Not traditionally used for wood carving; may affect the wood’s finish.
❌ WD-40 on wood should be used with caution and tested on a small area first.
Employing Odorless Paint Thinner
One of the advantages of this method is that it not only softens the wood but also cleans the surface. Curious about how to use paint thinner on wood? Keep reading to find out.
How to do it:
- Apply the paint thinner on wood using a cloth and rub it gently onto the surface.
- Allow it to penetrate before starting to carve.
Pros:
✅ Can clean the wood surface while softening it.
✅ Evaporates quickly, leaving no residue.
Cons:
❌ Requires proper ventilation due to fumes.
❌ Flammable, so handle with care.
Immersing in Low-Odor Kerosene
While immersing wood in low-odor kerosene can effectively soften it, there are additional considerations to keep in mind to ensure safe and efficient use.
How to do it:
- Dip the wood into low-odor kerosene for a short period.
- Remove and allow the kerosene to evaporate before carving.
Pros:
✅ Effective for deeply penetrating and softening dense woods.
✅ Can act as a lubricant for the carving tools.
Cons:
❌ Highly flammable and must be used in a well-ventilated area.
❌ The odor may still be noticeable despite being low-odor.
Remember to always prioritize safety when using these methods, especially when dealing with flammable substances or hot water.
Tips to Make Wood Easier to Carve
Carving wood is a deeply satisfying hobby that allows you to transform raw materials into beautiful pieces. To ensure your carving experience is as smooth as possible, here are some tips to help you achieve the best results:

- Choose the right type of wood for your project. Softwoods like basswood or butternut are ideal for beginners.
- Proper tool selection. Sharp, high-quality tools reduce the effort needed to carve providing, smoother cuts.
- Work with the grain of the wood. Carving against the grain can cause the wood to splinter and ruin your project.
- Control moisture content. Aim for a balance; too dry can be hard, too wet can be mushy.
- Practice proper carving techniques to avoid injury and achieve the desired results.
- Regular tool care. Keep your tools well-maintained and sharp for optimal carving performance.
By following these tips and methods, you can soften your wood for carving and create beautiful, intricate pieces of art. Experiment with different techniques to find the best method for your project, and enjoy the creative process of wood carving.

Hi Manfred! Leaving basswood in the garage over winter can definitely dry it out or make it harder to carve, especially if it’s been exposed to freezing temps or low humidity.
To soften it up a bit, try this:
👉 Wrap your project in a damp cloth (not soaking wet)
👉 Then place it in a plastic bag and let it sit overnight
This helps rehydrate the wood slightly, making carving easier.
Just don’t leave it too long — you don’t want mold. Let us know how it goes!
well I have aporblem with Basswood I left it in the Garage over winter can it be frozen
I have a hell of problem withe Carven so What \can i do to soften my project????
Please reply thank you Manfred