
You can carve a bear with a few tools and some wood (we'd recommend going with basswood). First steps are always difficult. While further it gets more pleasure than struggles. The funny look and unusual fur make a bear an interesting wood carving project. Using your imagination you can carve many variations. You can easily make a polar bear just paint him white or change to black color and you’ll get a black bear. Also, you can easily change the pose of the bear or just turn his head. To change his look you can carve his eyes oval or square.
What Tools Do You Need To Carve A Laughing Bear?
When it comes to wood carving, making an odd and animated laughing bear may be a fun job that demonstrates both talent and creativity. To engage on this artistic adventure, you must have the necessary tools at your disposal. In this lesson, we will look at the basic tools you'll need to carve a laughing bear with precision and grace.
- Carving Knife: The cornerstone of any wood carving project, a sharp carving knife is indispensable. Choose a knife with a comfortable handle and a blade that maintains a keen edge. This tool will be your primary instrument for shaping the bear's contours and bringing out its expressive features.
- Gouges and Chisels: Gouges and chisels are essential for removing larger portions of wood and creating detailed textures. Invest in a variety of gouge sizes to achieve different depths and shapes in your laughing bear carving. Chisels with different profiles will help you refine specific areas, such as the bear's facial expressions and fur details.
- Mallet: For the tasks that require a bit more force, a mallet is your go-to companion. It's used in conjunction with gouges and chisels to efficiently carve away excess wood. Ensure that the mallet is comfortable to handle and provides the right amount of control.
- V-Tool: A V-tool is instrumental in creating fine lines, particularly for defining the bear's fur patterns and facial features. It adds depth and dimension to your carving, allowing you to capture the bear's laughter in intricate details.
- Detailing Knife: A smaller detailing knife is crucial for refining the finer aspects of your laughing bear carving. Use it to add intricate details, shape small areas, and bring out the character in your creation.
- Sandpaper and Files: To achieve a smooth and polished finish, sandpaper and files are essential. Start with coarse-grit sandpaper to remove any tool marks and gradually progress to finer grits for a silky-smooth surface. Files can be handy for refining specific areas and achieving a professional look.
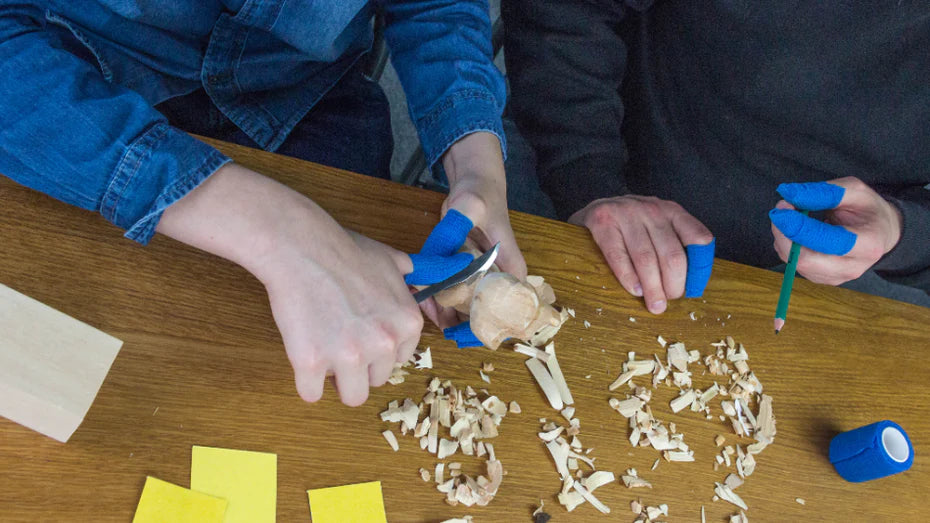
- Safety Gear: Last but not least, prioritize safety by wearing the necessary gear, including safety glasses and gloves. Carving wood involves sharp tools and potential flying debris, so protecting yourself is paramount.
What Materials Do You Need For Bear Carving?
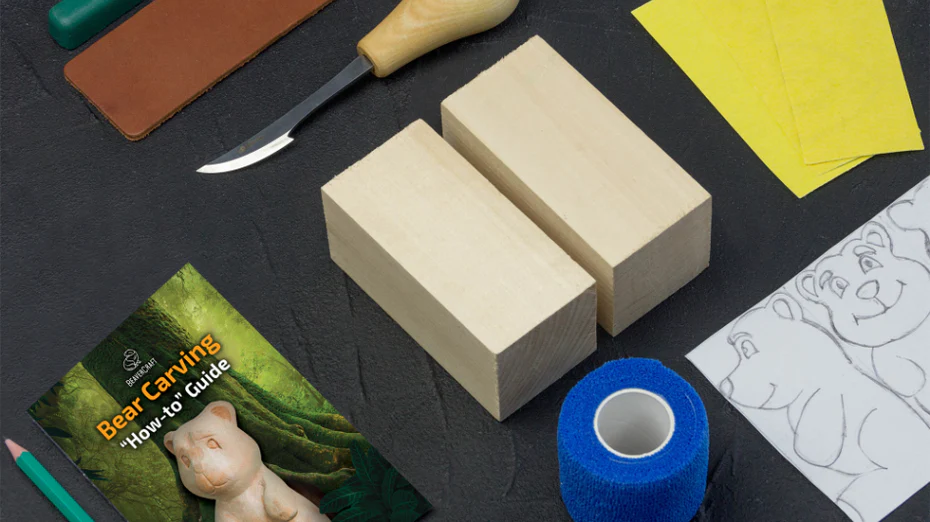
Starting a wood carving project, especially one as appealing as a bear, necessitates not just skilled hands but also the appropriate supplies. In this article, we will look at the materials you'll need to carve a bear that embodies the essence of nature and craftsmanship.
- Pattern or Design Template: Having a detailed pattern or design template is crucial for achieving accuracy and symmetry in your bear carving. You can find templates online or create your own based on the style and pose you want for your laughing bear. Ensure that the template aligns with your artistic vision and desired level of intricacy.
- Wood Finish or Sealant: Once your laughing bear takes shape, it's essential to protect and enhance the natural beauty of the wood. Choose a suitable wood finish or sealant to add luster, depth, and longevity to your carving. The finish can also highlight the wood's grain patterns, contributing to the overall aesthetic appeal of your creation.
- Wood Blank: Selecting the right wood blank is the foundation of your bear carving project. Opt for a wood species that is suitable for carving, such as basswood, cedar, or pine. The wood should be free from knots and imperfections.
How to carve a bear?
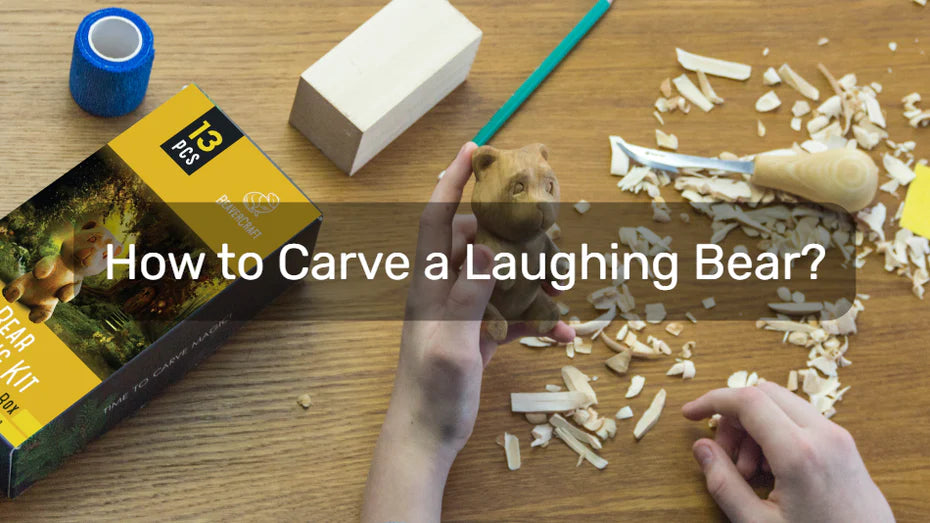
Whether you're an experienced woodcarver or a beginner, this article will help you through the difficult process of creating a laughing bear from a simple wood blank. With the correct tools, materials, and a little ingenuity, you'll enjoy transforming raw wood into a lovely and expressive masterpiece. Join us as we explore the craft of bear carving, from vision to actual, stunning creation.
Step 1: Establishing Landmarks and Initial Lines
First of all, draw the main landmarks. Draw a line on the top and draw a line for bear’s feet as you see in the picture below. After that use a knife to make narrow line between feet and head.


Step 2: Defining Head Slope and Sketching Landmarks
Make the slope on the top for the bear’s head. Draw the angle and carve the section. After that just sketch on the main landmarks - the lines for the arms, feet, head, tail, and legs.


Step 3: Roughing Out Bear Parts
Make rough out the parts indicated above. For this purpose use a 13 mm #9 gouge.


Step 4: Creating Arms and Deepening Lines
Make the arms and other parts of the bear. Then deepen the lines which are indicated above with the help of a 6 mm V-tool. After that, draw in the curved spine.

Step 5: Refining Head Details
With the help of a 2 mm #9 gouge a d 7 mm # 5 gouge just clean up the head.


Step 6: Carving Facial Features
Use a 7 mm # 9 gouge to make the bear’s ears, eyes, nose, and mouth.


Step 7: Refining Eyes and Removing Excess
For removing a small plug for eyes and for relieving excess areas use the same gouge from step 6.

Step 8: Carving Open Mouth and Tongue
For carving the open mouth using a knife until you will get the proper opening. And for outlining the bear’s tongue use a 4 mm V-tool.


Step 9: Adding Hair Details
For drawing in the main locks of hair you need to use two gouges. First is a 13 mm #9 and the second is the same gouge from step 5.


Step 10: Final Touches and Painting
To end your woodcarving, paint some parts of the bear as you see in the photo above. Then you need to make a mixture of 50 to 50 dark paint and light Briwax using a stiff paintbrush. Then using a rag wipe the wax off.
Final Thoughts
- You’ll need two chisels and one whittling knife for carving a bear.
- Overall it takes 10 steps to carve a bear.
- We’d recommend choosing basswood for this project. As it’s really easy to carve and color.
Feel free to message us anytime at newsletterteam@beavercrafttools.com in case you get any questions in regards to this or any other project.
